Step-by-step instructions

Build your air purifier in about 15 minutes.

The Corsi–Rosenthal Box is a proven DIY air purifier that rivals commercial units costing hundreds of dollars. This guide covers everything: what to buy, how to assemble it, and how to get the most out of it.

~15 minutes to build
No tools required
~$40–60 total cost
Completed Corsi-Rosenthal Box air purifier — four MERV-13 filters taped into a cube with a box fan on top

The science

How it works

The design is based on the Corsi–Rosenthal Box, developed by Dr. Richard Corsi and Jim Rosenthal in 2020. It uses negative pressure to force air through HEPA filters on all four sides at once — dramatically outperforming single-filter commercial units at a fraction of the cost.

Exploded view showing the four HEPA filters, box fan, cardboard top and base
Box fan (20")
Cardboard shroud
HEPA filters ×4
Cardboard base

Air is pulled inward through all four sides

The fan creates suction that draws dirty room air inward through each filter face simultaneously. Every cubic foot of air passes through HEPA media before reaching the fan.

The sealed top forces 100% of airflow through filters

A cardboard shroud around the fan's base prevents air from bypassing the filters. Without it, unfiltered air would sneak past — the shroud is critical to effectiveness.

Clean air exits through the top and re-circulates

Filtered air flows up through the fan grille and back into the room. On medium speed, most rooms get a full air change every 12–20 minutes, depending on room size.

Replace filters when they turn gray — no subscriptions

Standard 20"×20"×1" MERV-13 or HEPA furnace filters are sold at any hardware store for $8–15 each. When they look gray and clogged, swap them out and recycle the cardboard.

View the full build guide →

Based on peer-reviewed research. The Corsi–Rosenthal Box design has been studied by researchers at UC Davis, Portland State University, and others. Studies consistently show CADR values competitive with commercial purifiers costing $200–400.

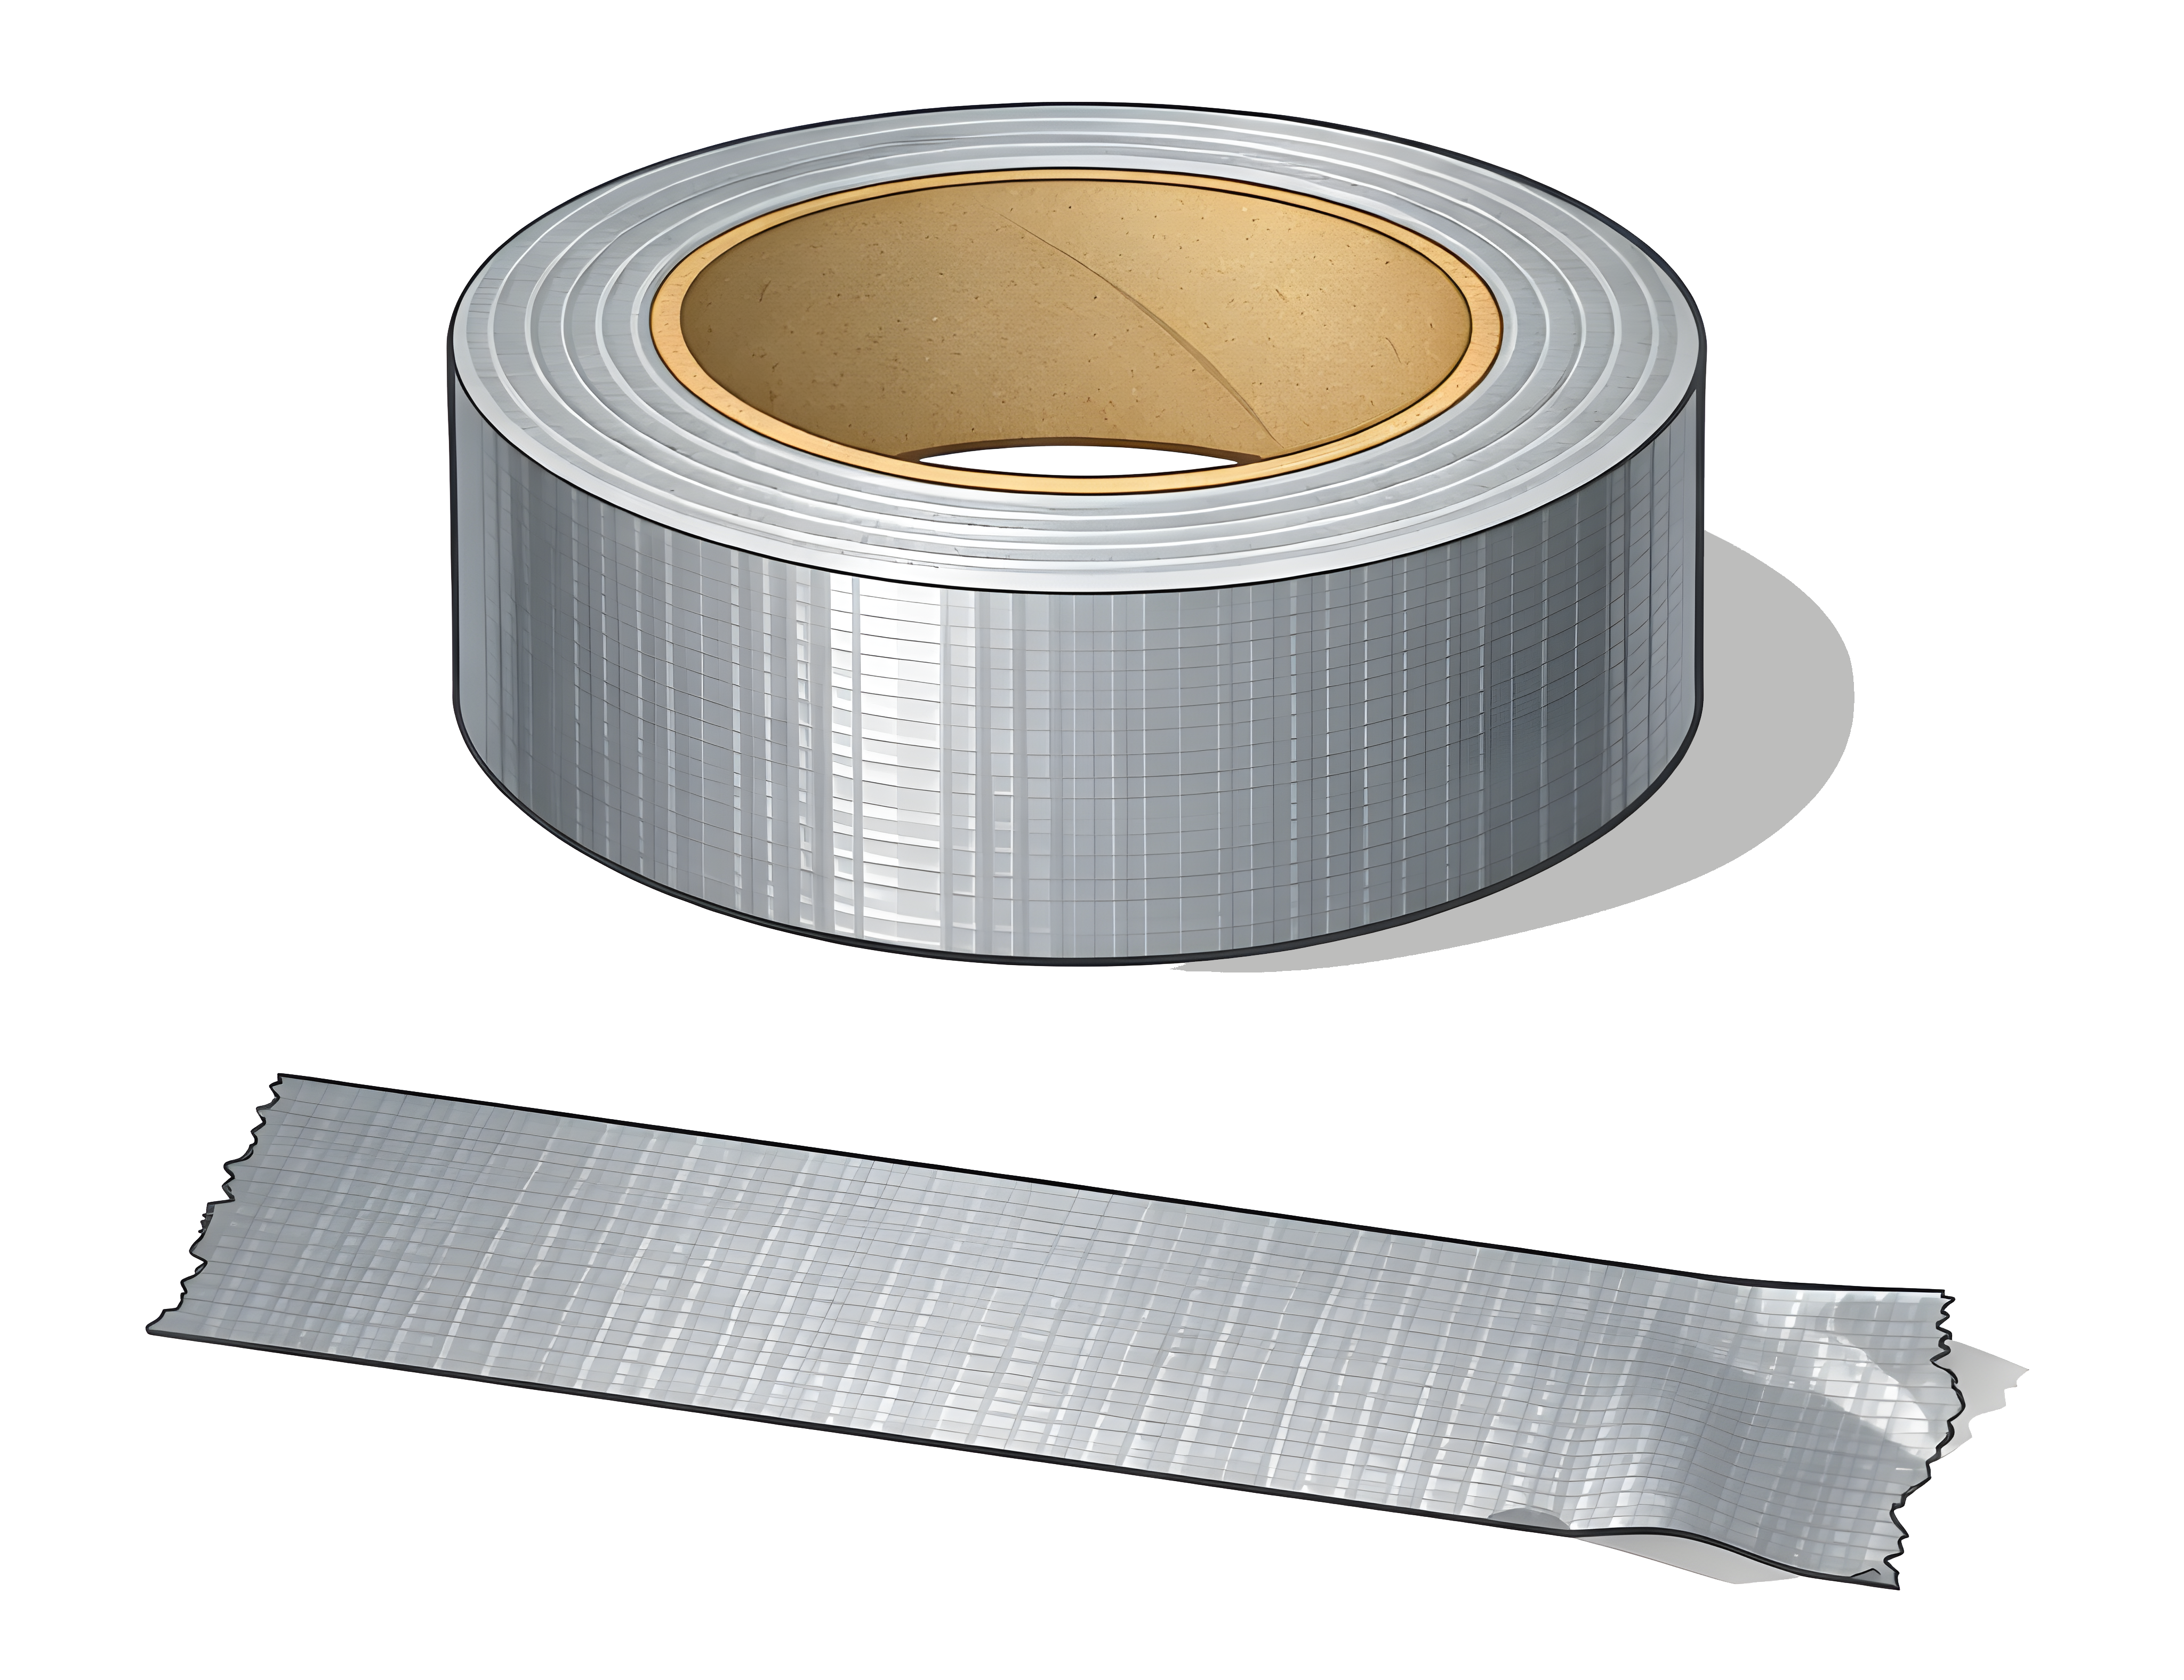
Duct tape is all you need to hold it together.

Seriously. A single roll of duct tape — about $6 at any hardware or dollar store — is the only fastener this build requires. No screws, no brackets, no glue gun.

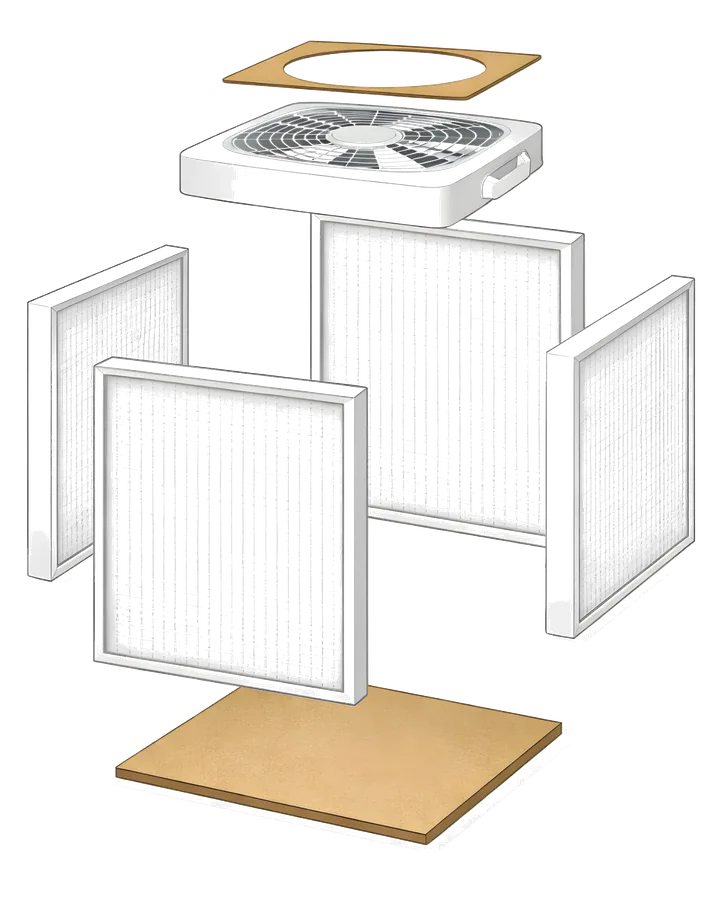
Tape the four filters edge-to-edge into a square cube, seal the seams so no air bypasses the filter media, then tape the cardboard shroud around the fan base. The airtight seal is what makes the design work: any gap you leave is unfiltered air sneaking through.

Foil tape (HVAC tape) is even better if you have it — it holds a cleaner seal and doesn't loosen in humidity. But regular duct tape works perfectly well and is easier to find.

Seal every edge
Run tape along all four vertical seams between filters and across the top where the fan sits.
Double up on corners
Corners are the most likely leak points. A second strip of tape at each corner takes 30 seconds and matters.
Check for gaps with your hand
Run your palm slowly along the seams while the fan runs. Any air movement you feel is a gap — tape it.
~$6 roll of duct tape
1 roll covers 2–3 builds
15 min total taping time
A roll of duct tape and a torn strip of duct tape
Standard duct tape from any hardware or dollar store. One roll is enough for two or three builds.